

Elevate Your Game
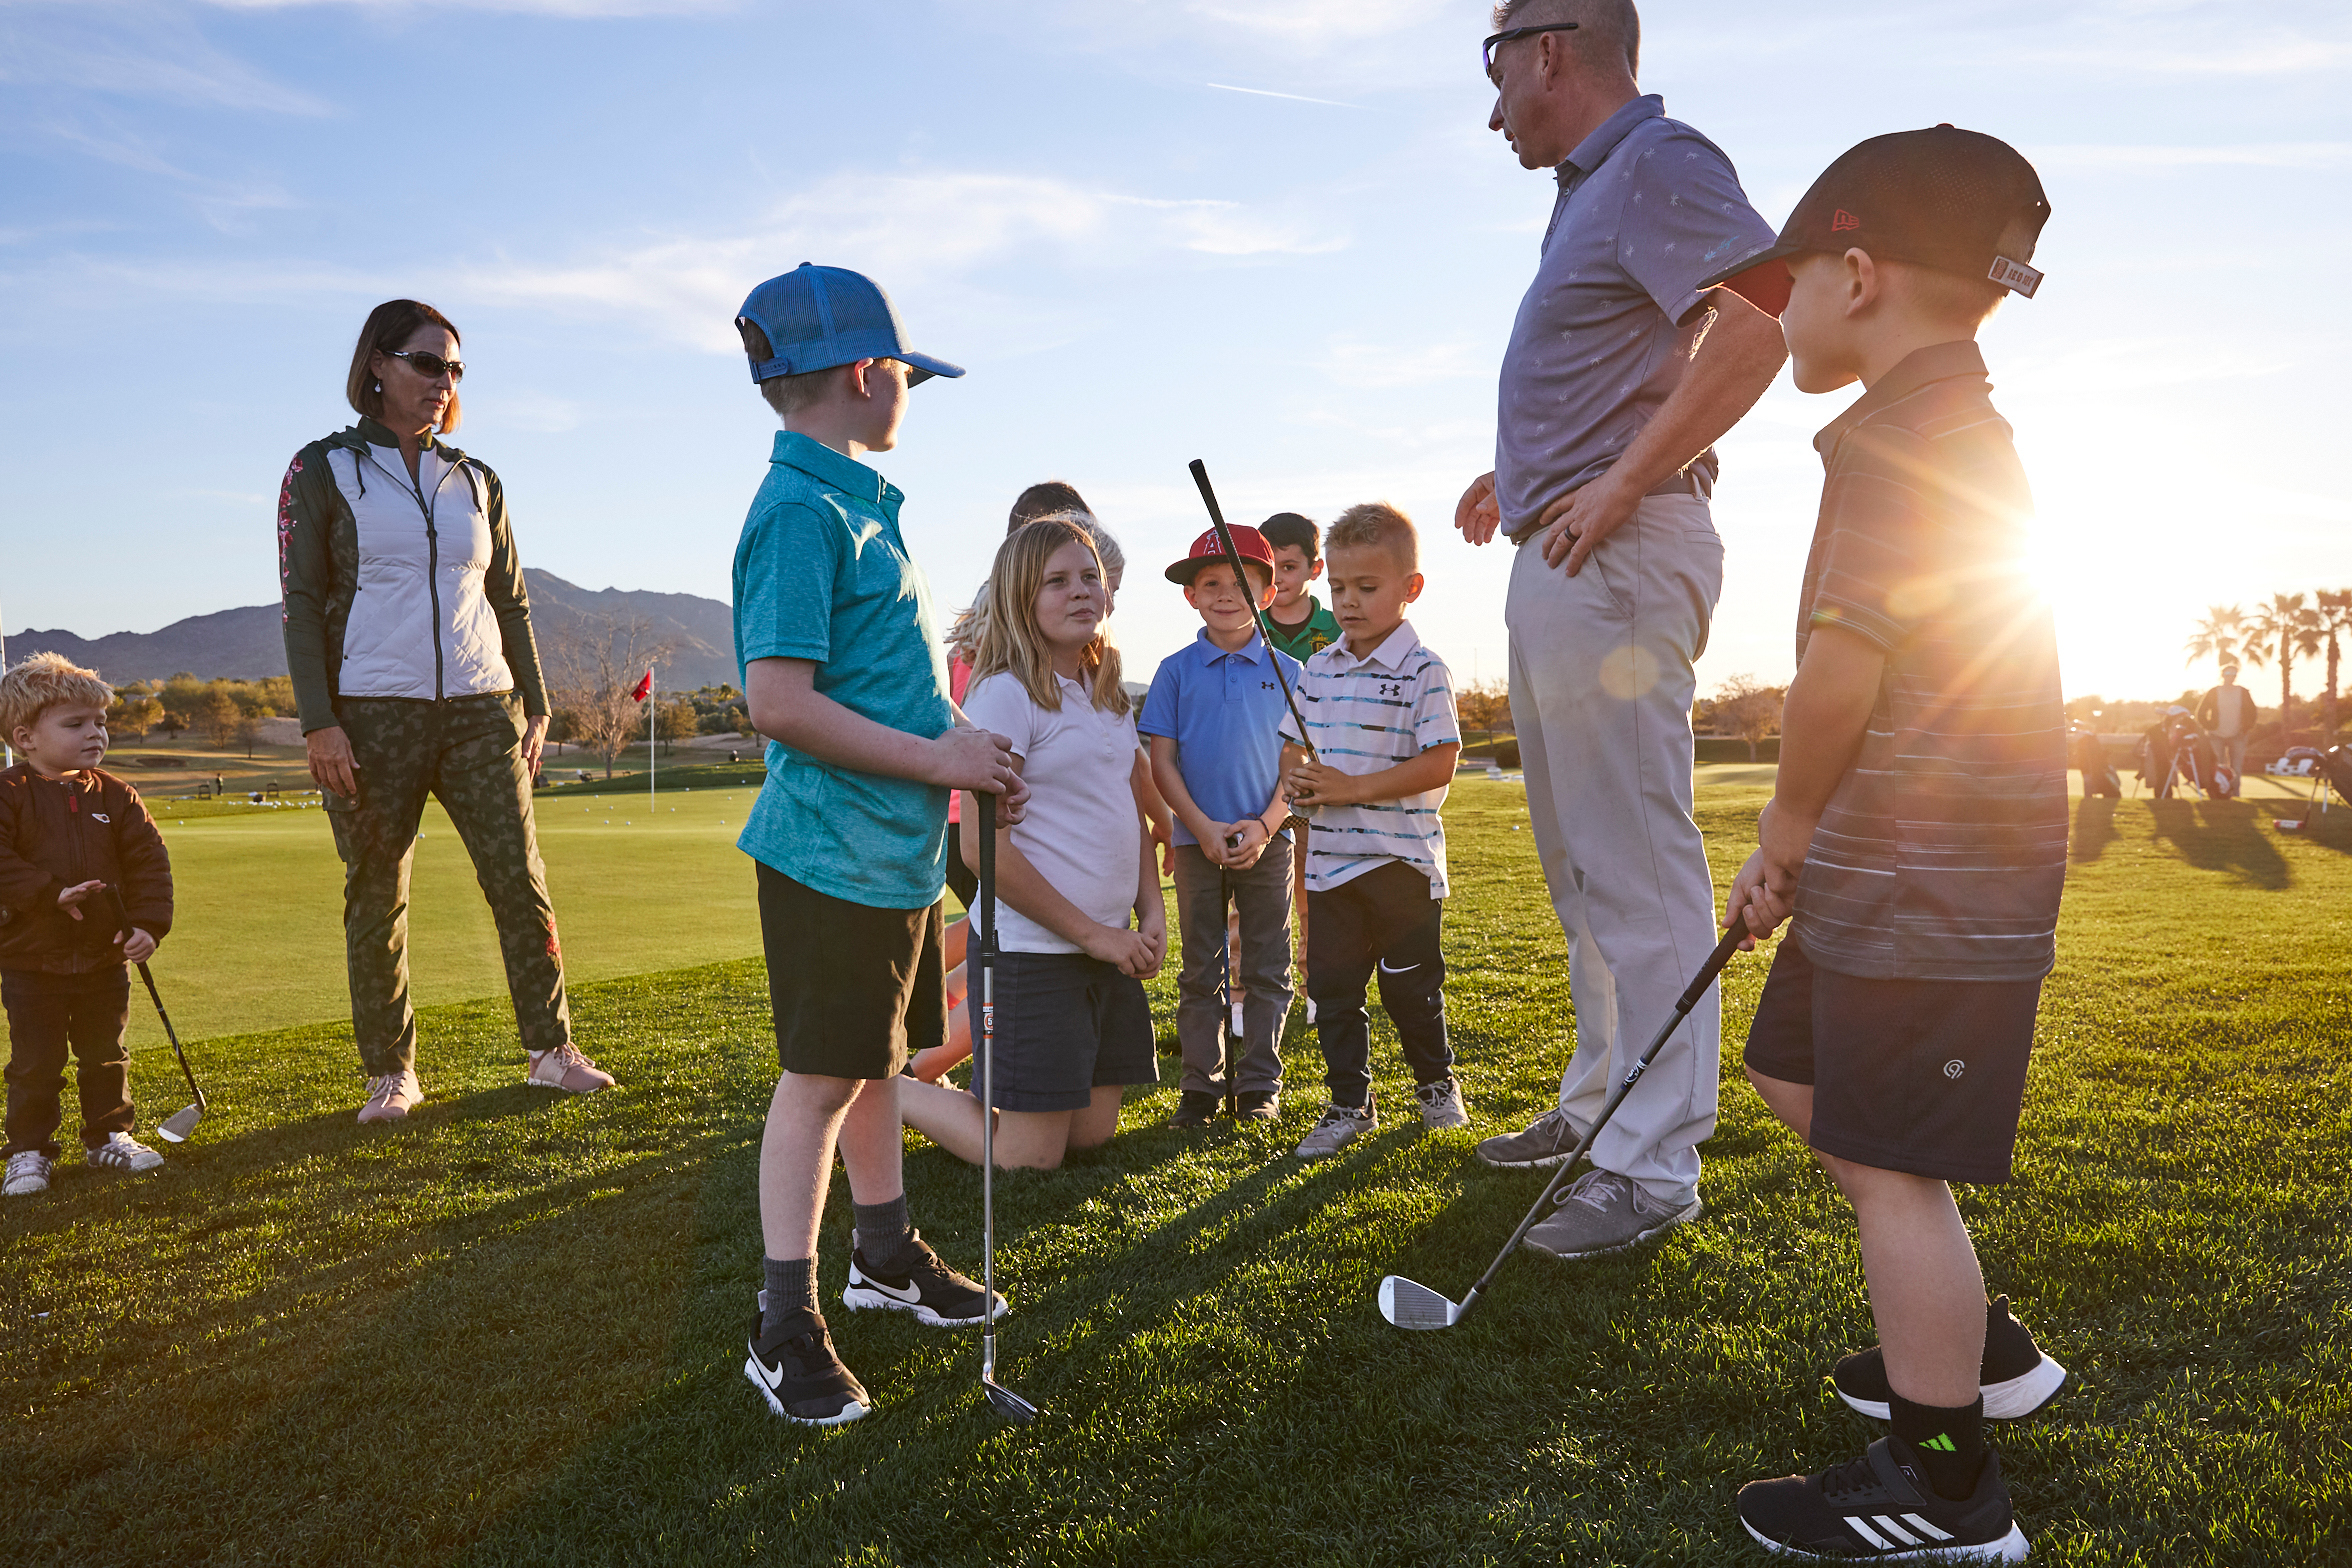
Junior Golf
From PGA Junior League to Crush It! programs, junior players build skills, confidence, and a lifelong love for the game.
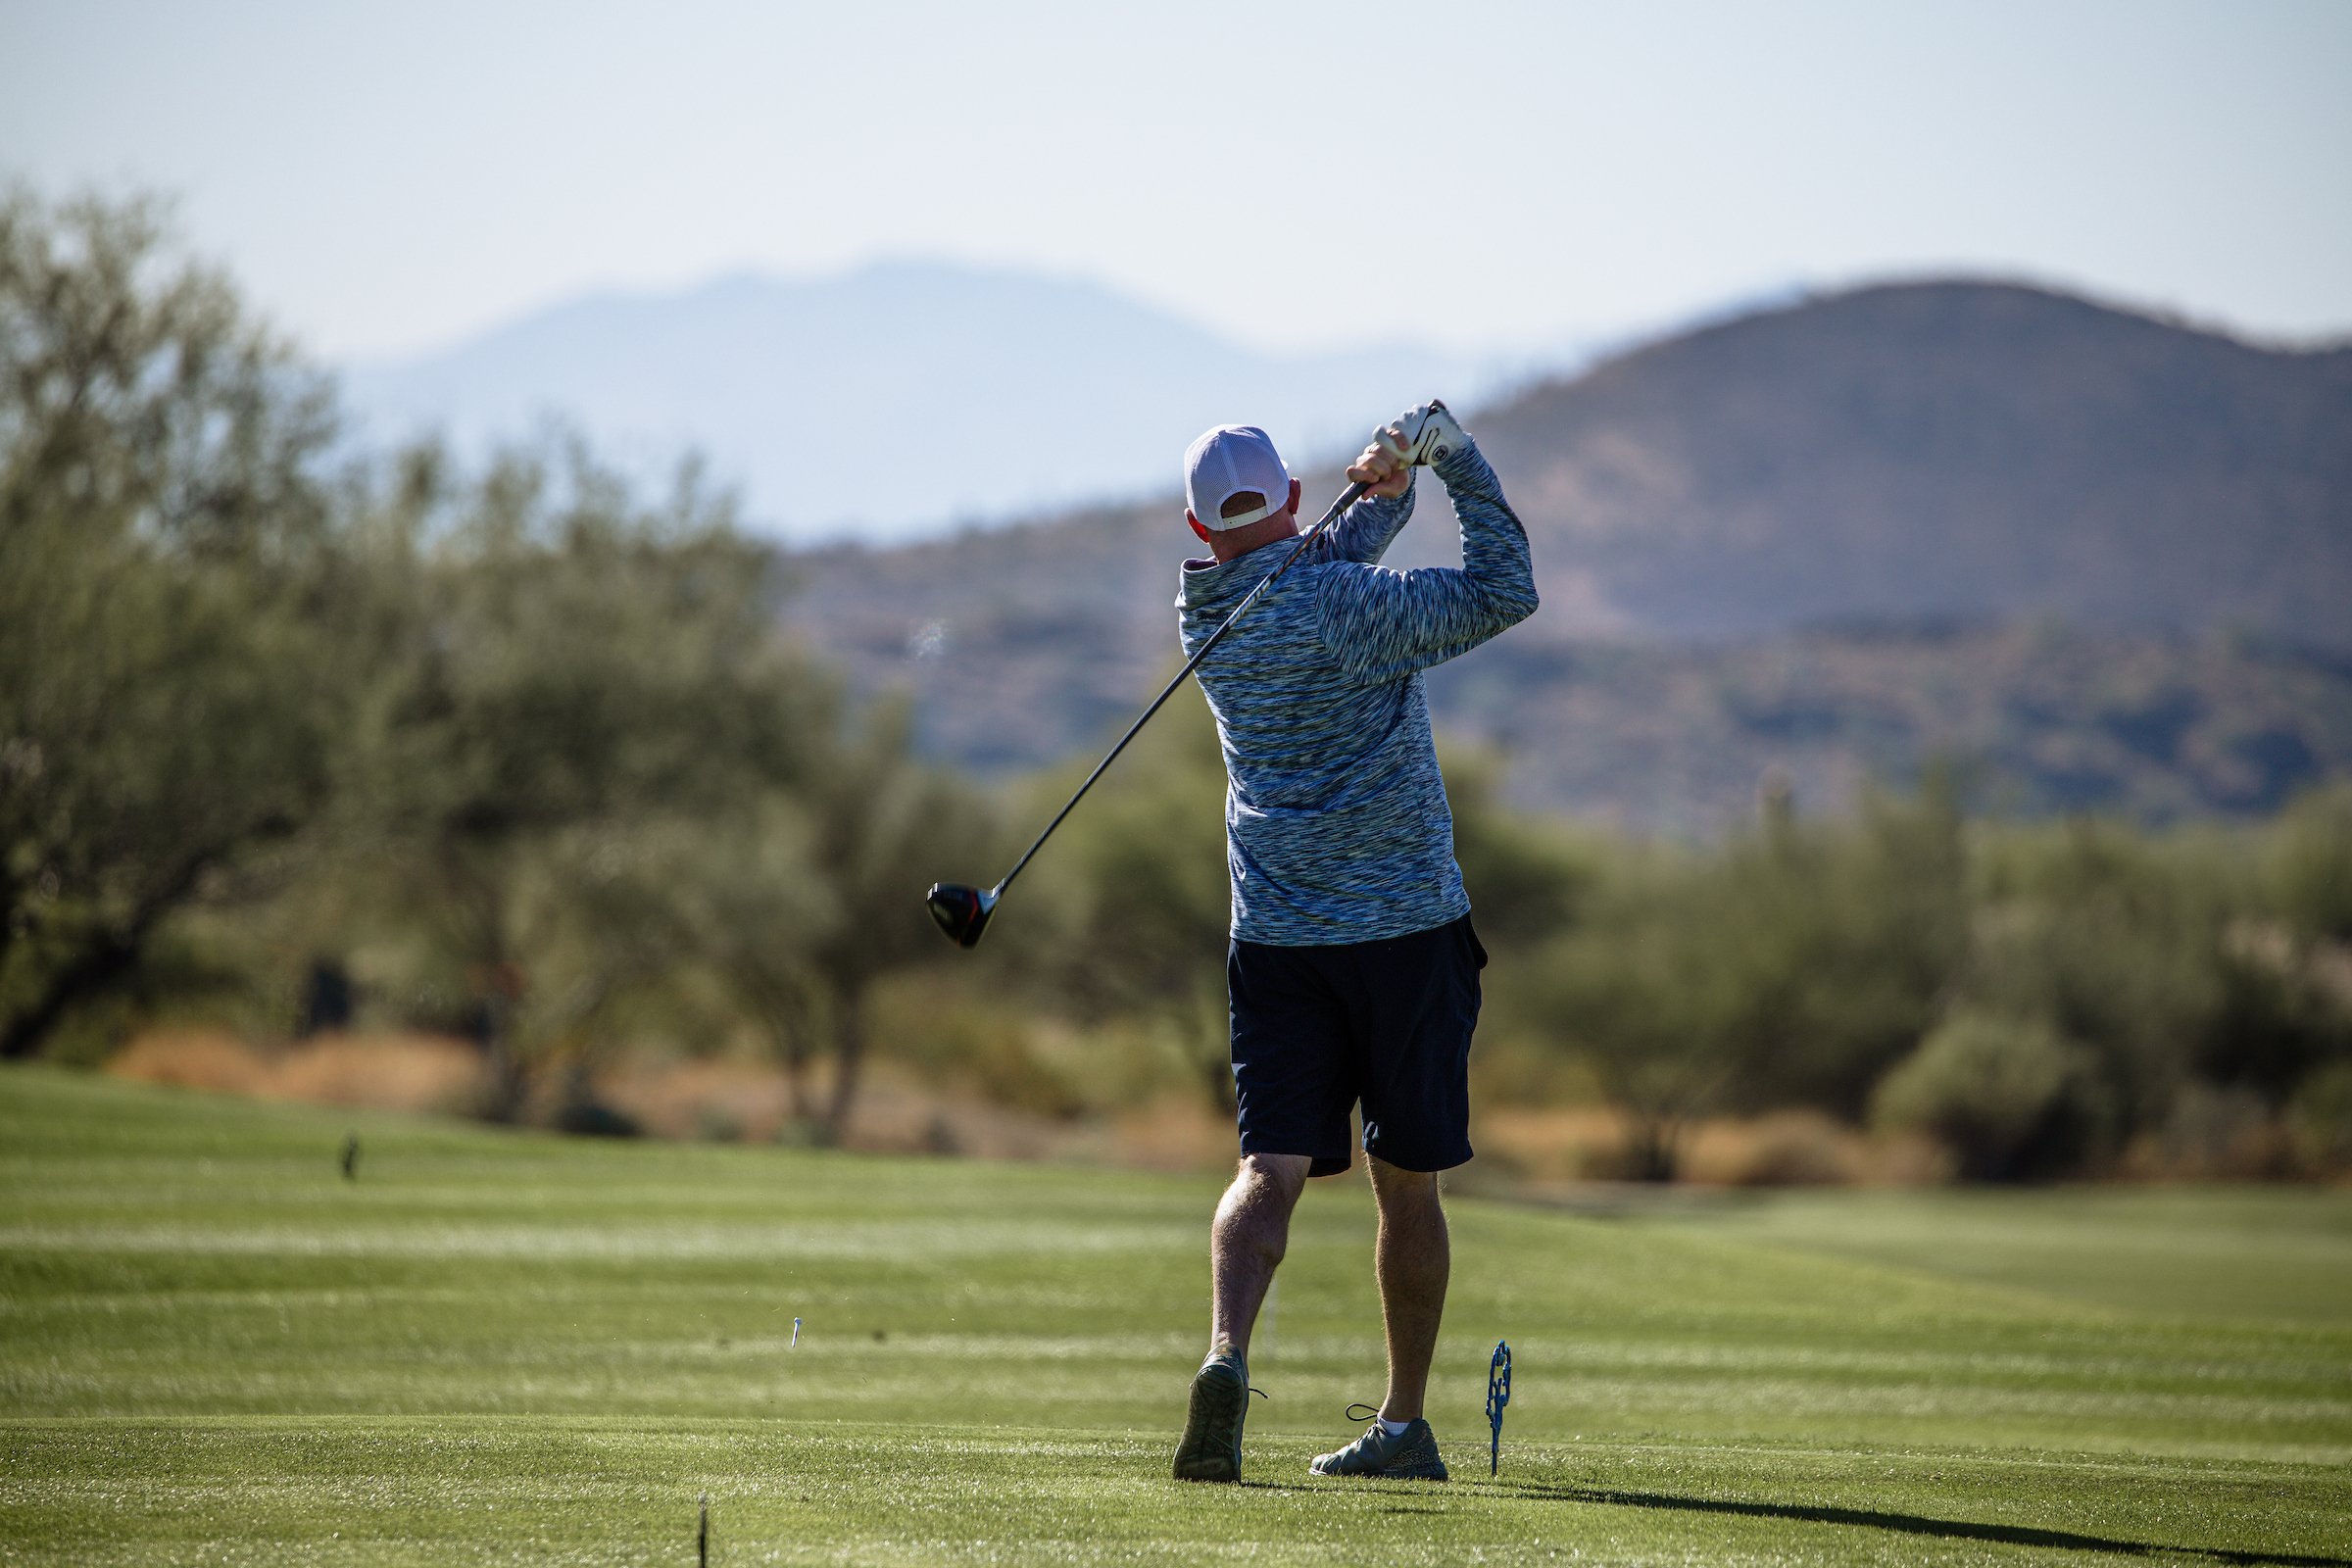
Private Instruction
Personalized coaching, from fundamentals to advanced techniques, designed to help you reach your full potential.
Custom Fittings
State-of-the-art TrackMan technology ensures every club in your bag is tailored to your unique swing.