Course Highlights
From the water-guarded par-3s to rolling fairways and native wetland buffers, each hole invites both beauty and challenge.
Par 4
BLUE: 386
GOLD: 433
RED: 280
WHITE: 325

Par 4
BLUE: 320
GOLD: 351
RED: 264
WHITE: 302

Par 4
BLUE: 431
GOLD: 460
RED: 374
WHITE: 392

Par 5
BLUE: 496
GOLD: 524
RED: 382
WHITE: 466

Par 3
BLUE: 178
GOLD: 209
RED: 106
WHITE: 141

Par 4
BLUE: 393
GOLD: 428
RED: 266
WHITE: 336

Par 4
BLUE: 434
GOLD: 462
RED: 374
WHITE: 392

Par 5
BLUE: 520
GOLD: 549
RED: 432
WHITE: 511

Par 3
BLUE: 150
GOLD: 185
RED: 80
WHITE: 118

Par 4
BLUE: 332
GOLD: 374
RED: 249
WHITE: 288

Par 3
BLUE: 157
GOLD: 195
RED: 100
WHITE: 122

Par 4
BLUE: 364
GOLD: 391
RED: 267
WHITE: 307

Par 4
BLUE: 415
GOLD: 447
RED: 296
WHITE: 392

Par 5
BLUE: 494
GOLD: 548
RED: 391
WHITE: 472

Par 4
BLUE: 312
GOLD: 341
RED: 260
WHITE: 277

Par 4
BLUE: 372
GOLD: 393
RED: 323
WHITE: 345

Par 5
BLUE: 495
GOLD: 518
RED: 379
WHITE: 470

Par 4
BLUE: 170
GOLD: 196
RED: 119
WHITE: 145

From the water-guarded par-3s to rolling fairways and native wetland buffers, each hole invites both beauty and challenge.
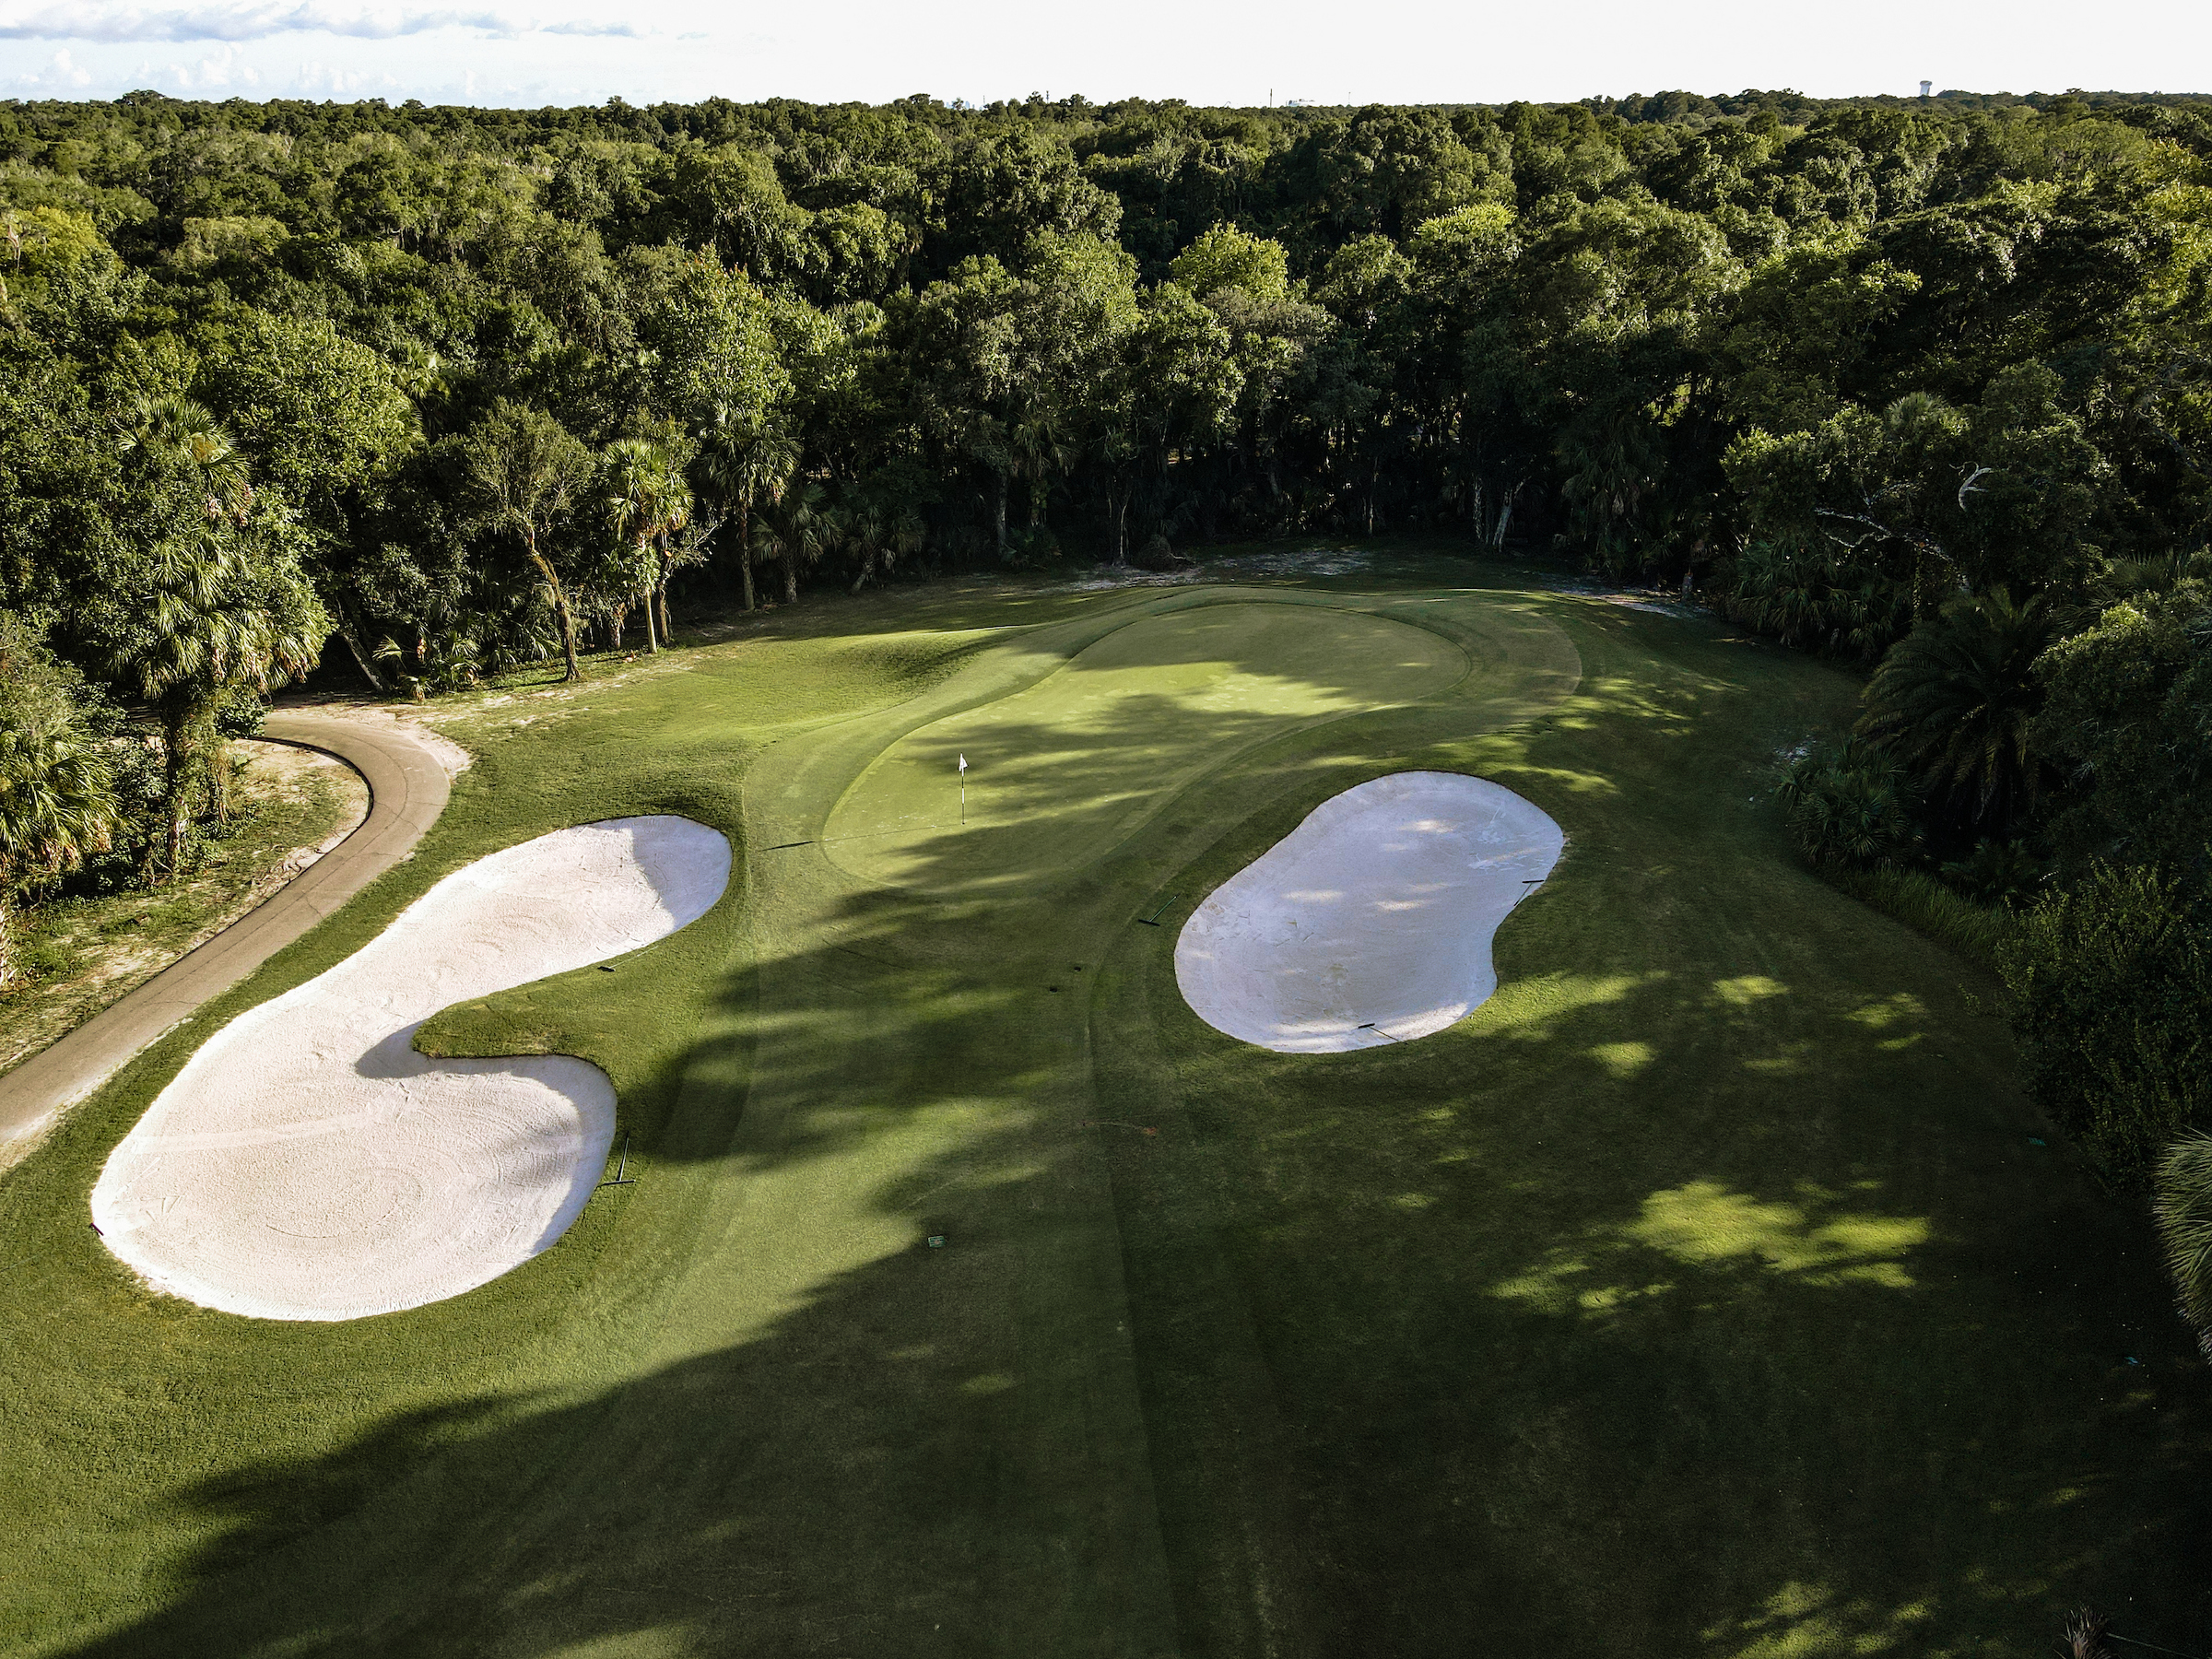
The par-3 17th over water, the challenging doglegs, and the strategic risk-reward layups together capture the true spirit of our course.

Undulating greens, bunker complexes, and water carry shots demand thoughtful play from tee to green.


Tampa Palms is an Audubon-certified sanctuary: wetlands, native flora, and habitat integration complement the golf design.


General Manager
Head Golf Professional /
Superintendent